
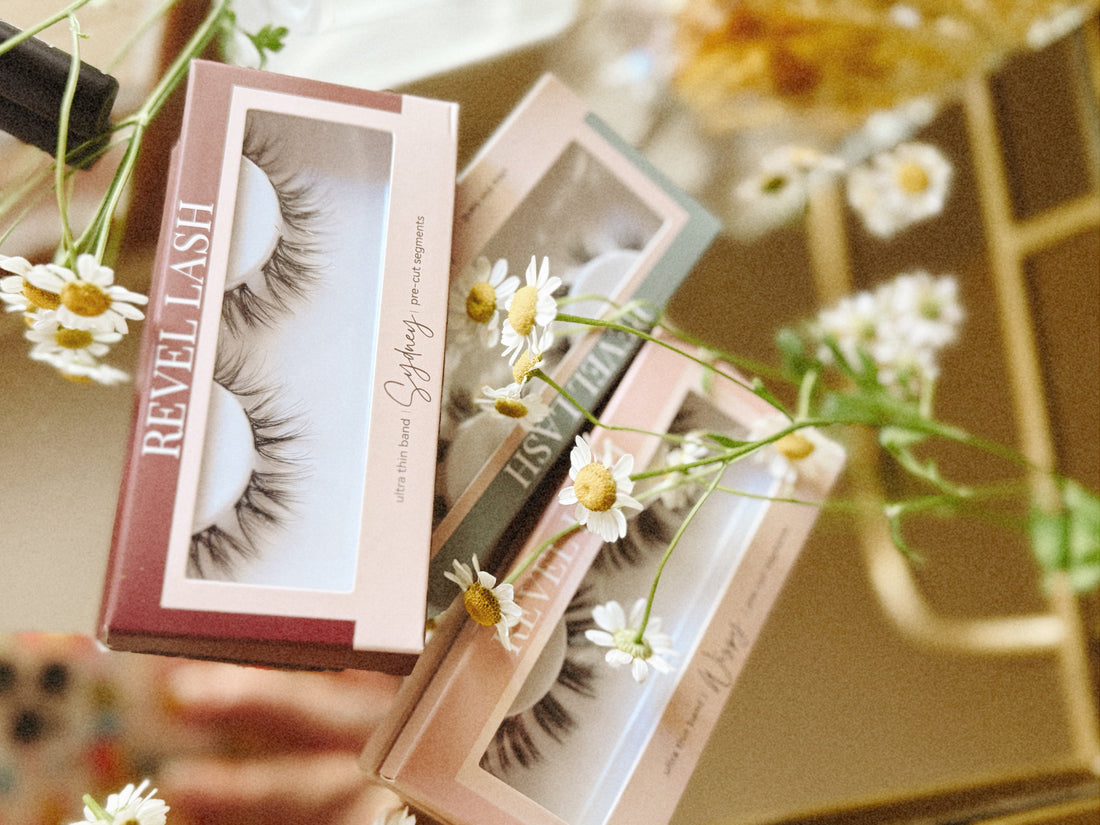
Welcome to our Ultimate DIY Lash Guide
If you’re curious about trying lash extensions at home, you’re in the right place. This guide walks you through everything you need to know — from choosing your first set to applying them with confidence. No salon required.
At Revel Lash, we believe beautiful lashes should be simple, safe, and an easy part of your beauty routine — not an expensive appointment you have to “make work”.
What Are DIY Lash Extensions?
DIY lash extensions are lash clusters or segments that you apply yourself at home — typically underneath your natural lashes using a special adhesive. They’re designed to mimic the look of salon quality lash extensions but without the high cost, time commitment, or risk to your natural lashes.
Unlike strip lashes or magnetic lashes, DIY extensions are made to last multiple days, sometimes up to a week or more with proper care.
What You’ll Need to Get Started
Here’s what you’ll need for your first DIY lash set:
- Lash clusters (choose your style)
- Lash Adhesive (aka bond)
- Tweezer of choice (we use our pink nonstick).
- Bond & Seal (optional) to lock in longer wear
- Fuse Tweezer to set the lashes
- Lash Spoolie for blending and shaping
Revel Lash kits are designed to give you everything you need in one box — plus simple, step-by-step instructions to guide you. Check out our How to Apply page for a full step by step guide with videos for a seamless application
Choosing the Right Lash Style
Start with something natural if you’re new — a soft cat-eye like the KITTEN or light volume cluster like our KATE that enhances your natural shape. You’ll be able to experiment with more dramatic looks as you gain confidence.
Not sure which lash style suits your eye shape? Check out our full Lash Style Guide for Eye Shapes.
How to Apply DIY Lash Extensions
Here’s a simplified application process:
- Prep: Start with clean, dry lashes — no mascara or oil-based products.
- Our Lashes are Pre-Mapped so they are already laid out with varying lengths for simple applications.
- Apply Adhesive: Either to the base of your natural lashes or directly to the cluster band.
- Place: Use your applicator tweezer (the pink one) to press each cluster underneath your lashes, as close to the lash line as possible.
- Apply Sealant: Dab sealant at the base of the lash along your lash line.
- Fuse: Gently press the segments and your natural lashes together with the fuse applicator tweezer (the black one) to seal the bond.
Want a full tutorial? Head to our step-by-step application guide.
How to Make Them Last Longer
- Avoid water, steam, and oil for the first 24 hours.
- Sleep on your back if possible.
- Use a spoolie to keep them neat.
- Avoid touching them too often.
- Re-Fuse with sealant to re strengthen the bond.
- Don’t pull or tug — lift with remover if needed.
For a full list of pro tips, check out: How to Make DIY Lashes Last Longer
DIY Lashes VS Salon Lashes
Salon extensions are expensive and take up hours of your time, appointments can be hard to schedule and if you’re a busy gal like me finding the time can be so challenging — they can also damage your natural lashes over time. DIY lashes offer more flexibility, less cost, and total control over your look.
Still unsure? Read: DIY vs Salon Lash Extensions
With the right tools and techniques, DIY lash extensions can become part of your new beauty routine — not a chore. It’s high maintenance to be low maintenance and Revel Lash is here to help you do it on your own terms.
If you’re wanting to learn more explore our full DIY lash education series below:
thanks for reading 💕